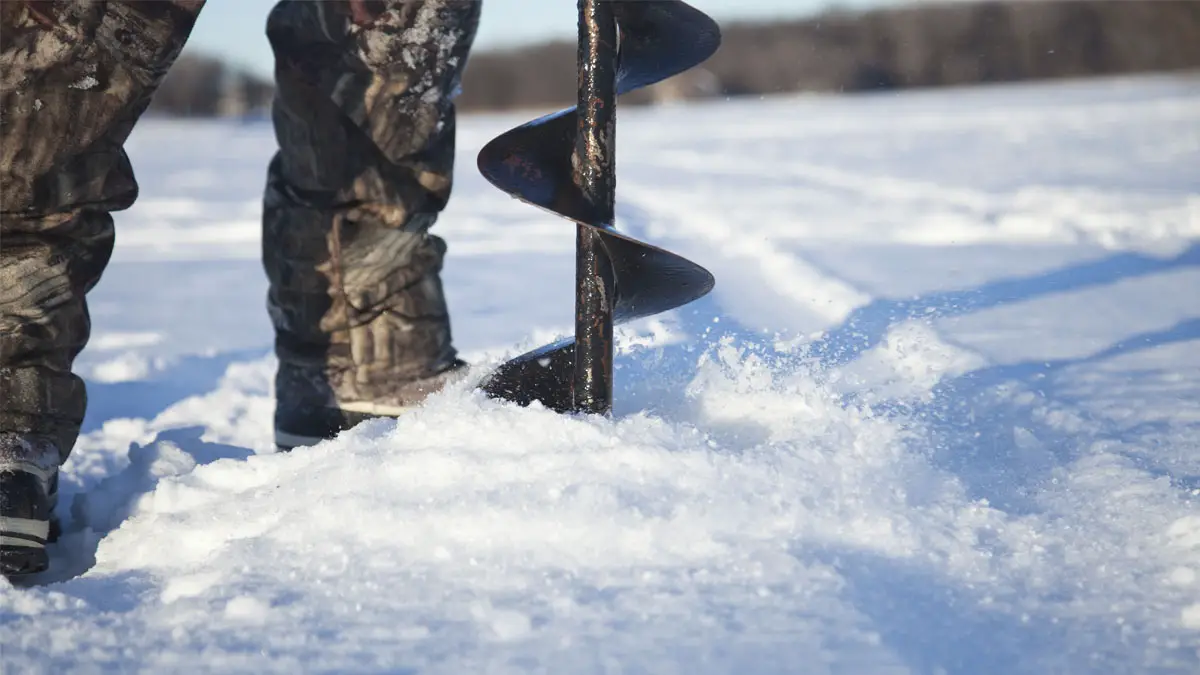
Ice fishing is an exciting winter sport enjoyed by anglers of all levels. But before you can cast your line, you need to drill a hole in the ice. This may seem like a daunting task, especially for beginners, but with the right equipment and a bit of patience, you can drill an ice fishing hole like a pro. In this comprehensive guide, we’ll walk you through the steps of how to drill an ice fishing hole, from choosing the right equipment to preparing for drilling and maintaining the hole.
Choosing the Right Equipment
The first and most crucial step in drilling an ice fishing hole is to select the right equipment. A power auger is the most common tool used for drilling, but manual augers and chisels are also options.
Consider these factors when choosing an auger:
Size
Augers come in different sizes, ranging from 4 inches to 10 inches in diameter. Choose the right size for the thickness of the ice you’ll be fishing on.
Power
If you opt for a power auger, you’ll have to decide between gas-powered and electric-powered options. Gas-powered augers are more powerful and can drill through thicker ice, while electric-powered augers are quieter and more environmentally friendly.
Price
Augers can range from $100 to $1,000 or more. Choose one that fits your budget.
Preparing for Drilling
Before you begin drilling, you need to choose a location for your hole. Look for areas clear of snow and ice debris to make it easier to drill and maintain the hole.
Checking Ice Thickness
Use a spud bar to check the thickness of the ice. A spud bar is a metal rod with a pointed end to tap the ice and determine its thickness. The recommended minimum thickness for safe ice fishing is 4 inches, but this can vary depending on conditions and location.
Drilling the Hole
It’s tme to start drilling once you’ve chosen your location and checked the ice thickness.
Safety First
Put on gloves and a life jacket before starting to drill.
Start Drilling
Place the auger on the ice and begin drilling, using steady pressure to keep it from slipping. Continue drilling until you reach a depth of 24 inches.
Clearing the Hole
Use the spud bar to break up any ice still attached to the sides of the hole. Scoop out any remaining ice chunks with a slush scoop.
Maintaining the Hole
Once the hole is drilled, it’s essential to keep it clear of slush and ice chunks for a successful and safe ice fishing experience.
Removing Ice Chunks
Use a slush scoop to remove any ice chunks that have accumulated in the hole.
Covering the Hole
Cover the hole with a hinged ice fishing cover to keep snow and wind from entering
Monitoring the Hole
Check the hole periodically to make sure it is clear and free of slush.
Drilling an ice fishing hole is a straightforward process with the right equipment and patience. By following the steps outlined in this guide, you’ll be able to enjoy a successful ice fishing experience. Whether you’re a seasoned angler or a beginner, you can drill an ice fishing hole like a pro.


