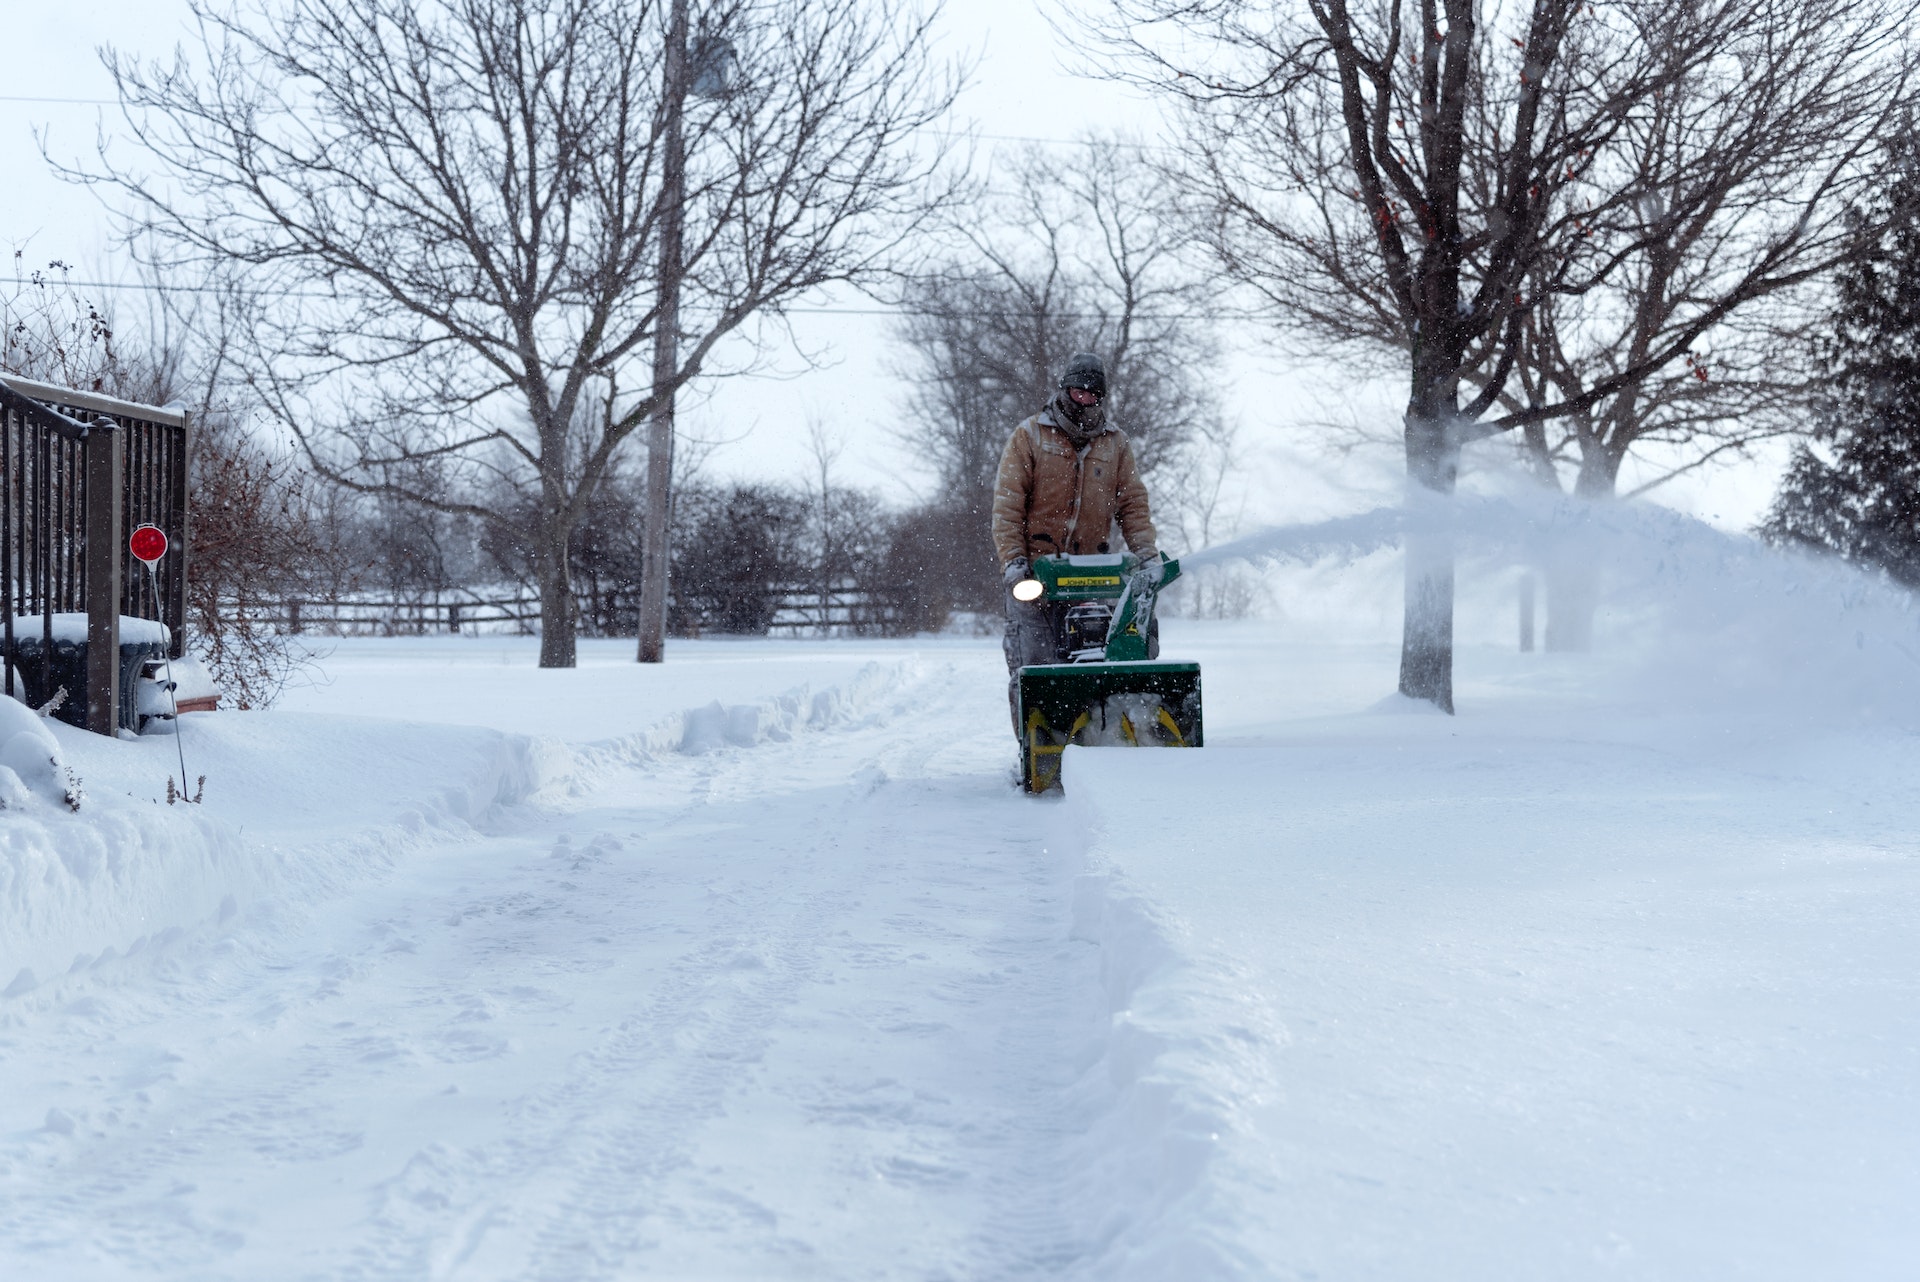
Starting a snow blower can seem intimidating, especially if you’ve never done it before. However, with a bit of knowledge and practice, starting your snow blower can become a simple and straightforward task.
Here are step-by-step instructions on how to start a snow blower:
Understanding Your Snowblower
Familiarize yourself with your snow blower and its components. This includes the fuel tank, spark plug, air filter, and carburetor, as well as the on/off switch and throttle. Understanding the function of each component will make it easier to troubleshoot any potential issues and ensure that your snow blower starts and runs smoothly.
Check The Fuel Level
Check the fuel level and add fresh fuel if necessary. It’s important to use the correct type of fuel for your snow blower, as specified in the owner’s manual. Typically, this will be a mix of unleaded gasoline and oil, with the recommended ratio indicated on the fuel can or in the manual. Avoid using stale or old fuel, as this can clog the carburetor and prevent your snow blower from starting.
Locate The Spark Plug
Locate the spark plug and check that it is clean and properly connected. The spark plug is responsible for igniting the fuel in the engine, so a dirty or loose spark plug can prevent your snow blower from starting. Clean the spark plug with a wire brush or replace it if necessary, and ensure that it is securely connected to the spark plug wire.
Check The Air Filter
Check the air filter and clean or replace it if necessary. The air filter prevents debris and dirt from entering the engine, so a clogged or dirty air filter can reduce the performance and efficiency of your snow blower. Clean the air filter by tapping it gently to remove any debris, or replace it with a new one if it is excessively dirty or damaged.
Check The Carburetor
After the spark plug and air filter are in good condition, move on to the carburetor. The carburetor mixes the fuel and air to create a combustible mixture that is ignited by the spark plug. If the carburetor is dirty or clogged, it can prevent your snow blower from starting. Clean the carburetor by spraying it with a carburetor cleaner or by using a carburetor cleaning kit, and make sure that all the internal parts are properly connected and functioning.
Starting The Snow Blower
Once the fuel, spark plug, air filter, and carburetor are all in good condition, it’s time to start your snow blower. Begin by setting the on/off switch to the “on” position, and move the throttle to the “fast” setting. This will ensure that the engine is running at the optimal speed for starting.
Locate the starter cord and give it a sharp tug to start the engine. The starter cord is typically located near the fuel tank and may require a bit of force to pull. If the engine doesn’t start after a few pulls, check the spark plug, air filter, and carburetor again to make sure they are all functioning properly.
Once the engine is running, move the throttle to the “slow” setting to reduce the speed and prevent the engine from overrevving. This will also allow the engine to warm up and reach its optimal operating temperature.
Check the oil level and add oil if necessary. The oil lubricates the internal components of the engine and helps to keep it running smoothly. Check the oil level using the dipstick or sight glass, and add oil if it is below the minimum level. Use the correct type and grade of oil as specified in the owner’s manual


